


Topic Report Settings
- Topic Report Settings
- Tests for Submitting Topic Reports with [Attending Student View]
- Downloading and Marking Submitted Reports
Topic Report Settings
-
Either (1) add a topic module, or click on the (2) title of the course module for which a topic is to be set.
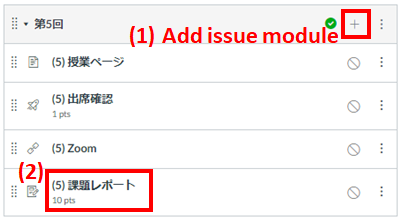
If you have clicked on (2) Title, then also click on (3) [Edit].
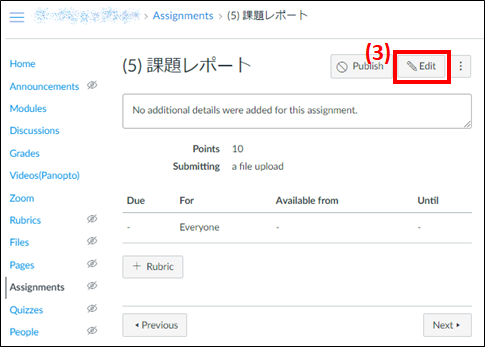
- The topic editing screen will be displayed.
The title can be changed in the (*) field. Enter the details of the topic questions, etc., with (4). Decide on the top grade for the topic report with field (5).
Use field (6) to either select [Online] if files are to be submitted on Canvas, or [File Upload] if files are to be submitted from the online entry option.
(7) The number of submission attempts can be set as "unlimited" or "limited. In the case of "with limit," the number of attempts is set. Set the date and time of the topic deadline in (8) Deadline . Reports submitted after the deadline date/time have elapsed will be received as [Delayed].
The [By the Following Date/Time] shown in (9) is the actual date and time of receiving the topic .
- When Delays are Not Acceptable: Same date/time as the deadline
- When Delays are Acceptable: Deadline + acceptable time
And finally, click on (10) [Save].

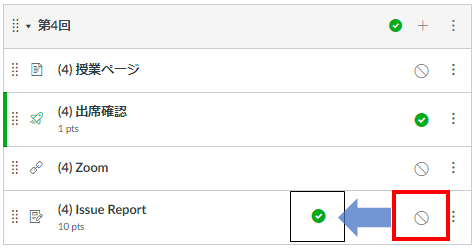
- Click on the icon located next the topic report created and saved to set the parameters for making it public (the mark will turn green, and the contents will be able to be viewed by the attending students).
Tests for Submitting Topic Reports with [Student View]
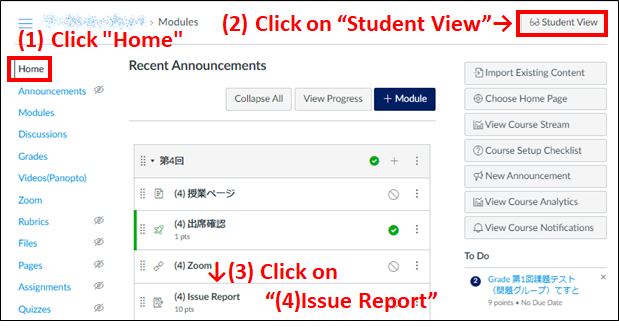
- [Student View] allows actually submitting and checking preset topic reports.
Click on (1) [Home], click on (2) [View as Student] located at the top right, and then click on (3) [(4) Issue Report].
-
(4) Click on [Start Assignment].

-
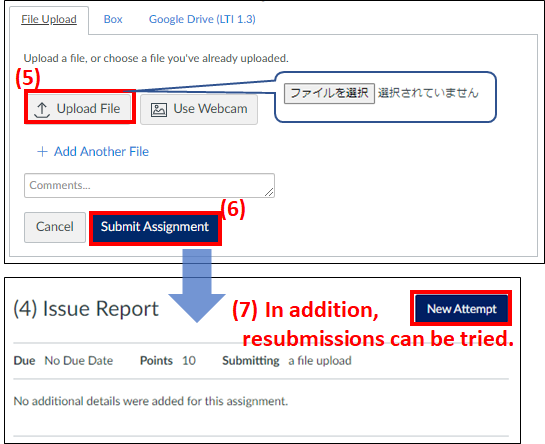
(5) Select the test file (to be prepared individually) in "ファイルを選択 / Select File", select a file to upload in "ファイルを選択 / Select File", and click on (6) [Submit Assignment] to end report submission.
Once the report has been submitted, the [Submit Assignment] button will change to (7) [New Attempt], and it is possible to test submission again.
-
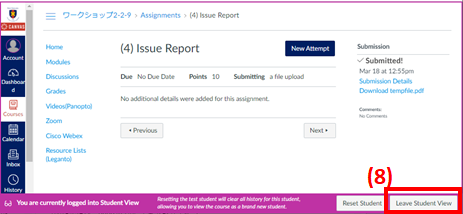
Once the test has been completed, click on (8) [Leave Student View] to return to the lecturer screen.
Downloading and Marking Submitted Reports
Submitted reports can be marked and added comments while viewing them on the web screen.
It is also possible to download submitted reports in bulk and upload them in bulk after they have been corrected.
SpeedGrader Marking Method
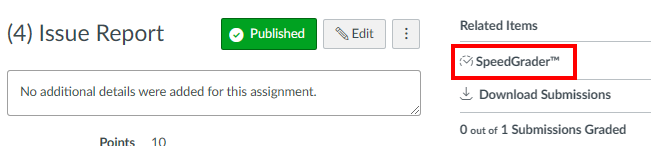
- Click on the [SpeedGrader] menu displayed on the right-hand side of the report screen.
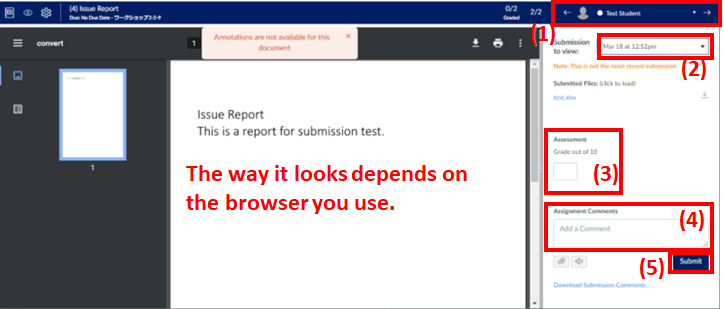
- A screen on which submitted reports can be checked and marked will be displayed.
The use of (1) allows the display to be switched between students.
t is also possible to switch between and view all submitted files with (2), even if the reports have been submitted multiple times.
It is possible to enter marks while viewing report files with (3).
Comments can be entered with (4).
And finally, click on [Submit] in (5) after the marks and comments have been entered.
Feedback will not be provided to students at this point. To make the results public and provide feedback to students, see the section on Managing and Checking the Grades for the Entire Course .
Downloading Submitted Reports in Bulk
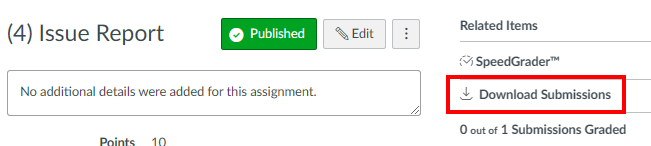
- Click on the [Download Submissions] menu displayed on the right-hand side of the report screen.
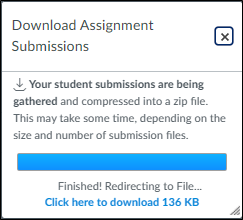
- The downloaded submissions will be compressed into a zip file.
Uploading Downloaded Reports in Bulk
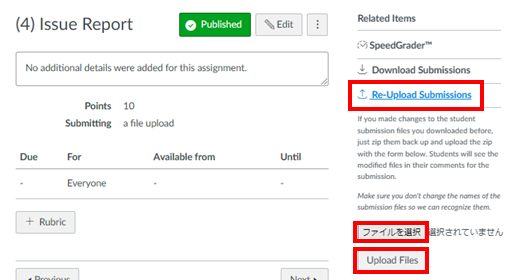
- If marks, comments or other amendments have been made to the downloaded reports, compress them into a zip file with the same name as when they were downloaded and then upload them.
- Click on [View Upload Status] to check on the upload status.
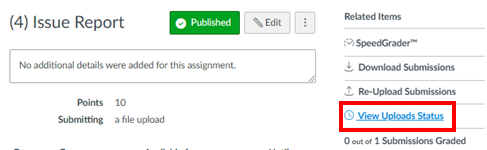
- The following will be displayed if the upload was successful.
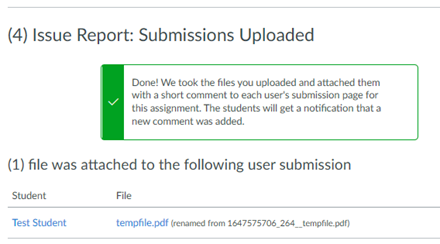
The details will not be fed back to students only by uploading.
See the section on Managing and Checking the Grades for the Entire Course.
Last-Modified: March 17, 2025
The content ends at this position.