


How to change email address for notifications
A. Changing the email address for notifications
| B. Contact information
| Reference: Cell phone email address setting precautions
A. Changing the email address for notifications
Follow the procedure below to reset the email address for notifications.
-
Log into the keio.jp using the User ID (Guarantor ID) (e.g. 99999999@gr).
-
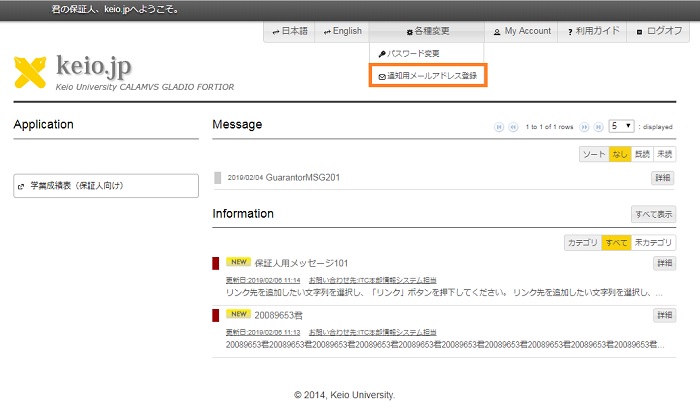
Select [Register email address for notifications] from [Settings] at the top of the screen.
-
The screen for setting the email address for notifications appears. Enter the email address for notifications, the email address for notifications (for confirmation) and the current password (the initial password or the password set by you), and then click [OK].
You cannot set the Keio ID (e.g. keio-taro@keio.jp) here.
To delete an already registered email address, select [Delete] at the right of [Current email address for notifications].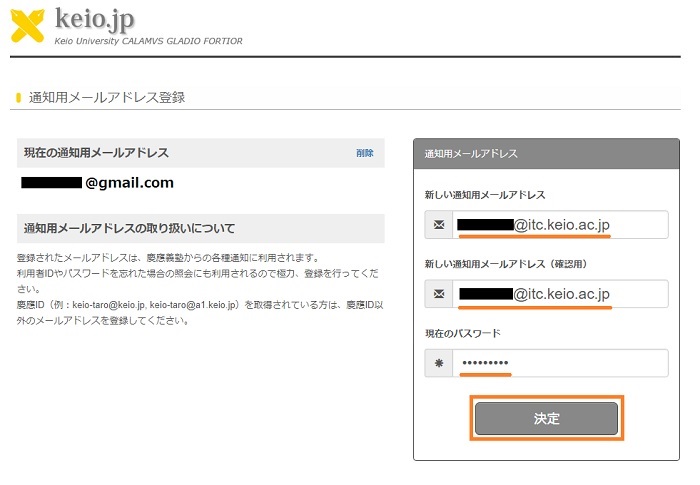
-
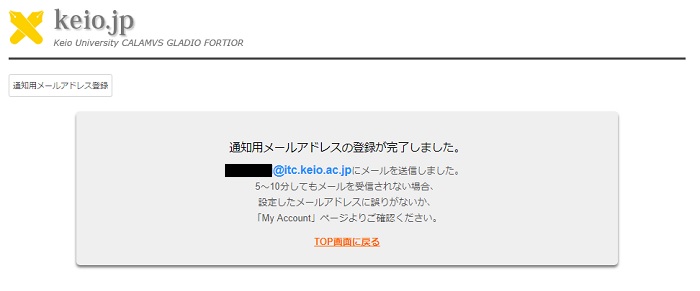
A message saying that the registration is complete appears.
-
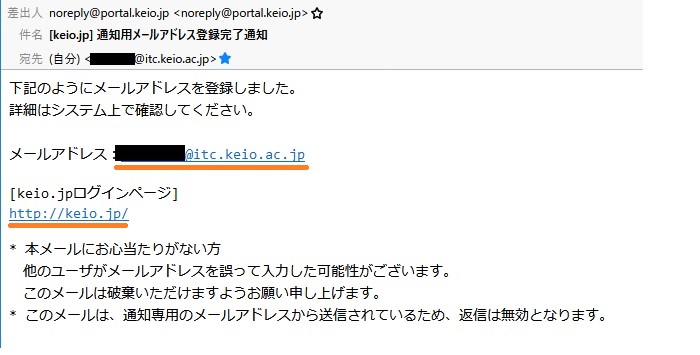
Email is sent to the email address for notifications you have set. (Email is sent within 10 minutes.)
B. Contact information
See the contact information written in the [Information for Guarantors].
Reference: Cell phone email address setting precautions
If you cannot receive an email at the email address of your cell phone etc., domain limits may have been set.
Make sure that the following domain has not set domain limits. Check your cell phone company's domain limits confirmation method at the following links.
If you cannot receive email even after revising the following setting, make sure that a check has been placed at [Other settings: notify by email] in the message sender's settings.
Sender's domain: portal.keio.jp (sender's address: noreply@portal.keio.jp)
- NTT docomo
Reception/rejection settings
- Y!mobile
Spam mail prevention function
Last-Modified: September 3, 2021
The content ends at this position.